Kurulum Kılavuzu
Windows Üzerinde Plover Kurulumu
Plover kurulabilir ya da taşınabilir bir ZIP olarak doğrudan çalıştırılabilir. Eğer Plover'ı bir USB bellek üzerinden çalıştırıyorsanız ya da ana makinenin yetkileri kısıtlanmışsa, taşınabilir ZIP'i kullanmak daha avantajlı olabilir. Fakat başka tüm kullanım amaçları için, kurulum yöntemi önerilir.
Windows kurulum sihirbazını indirin
Kurulum sihirbazını çalıştırın ve ekrandaki talimatları takip edin. Windows Defender SmartScreen'i baypas etmek için uygulamaya yetki atamanız gerekebilir.
Windows taşınabilir ZIP'i indirin
Tüm arşivi Plover'ı çalıştırmak için kullanmak istediğiniz klasöre doğru çıkarın.
Mac Üzerinde Plover Kurulumu
Mac için Plover'ı indirin
- Open the
.dmgfile. - In the mounted disk, drag the
Plover.appto yourApplicationsfolder. - Open the Applications folder.
- Control-click on Plover, then choose
Openfrom the shortcut menu. - Open
System Settings > Privacy & Security > Accessibility. - Click the
+Button, and go to your applications and selectPlover.app.
Make sure to follow step 4 when starting Plover for the first time. Double clicking the app will not work if it is your first time opening Plover (see here for more info).
Ve Plover kuruldu! Plover'ı şimdi herhangi başka bir uygulama gibi çalıştırabilirsiniz.
Other “keyboard helper”-type applications (e.g. Karabiner Elements and text expanders) may interfere with Plover.
If you had previously uninstalled Plover or upgraded your system
Repeat step 5, and remove Plover from the list. Do not just uncheck Plover; you will have to explicitly remove Plover by using the - button. Once Plover has been removed, re-add Plover.app by repeating step 6.
Install Plover on Linux
Plover is provided as an AppImage. This is the only officially supported method to using Plover on Linux.
Plover is not officially supported on systems running Wayland at this moment. Many distros use Wayland by default and you will need to switch to X11 in order to use Plover. Follow a tutorial like this one to determine if you’re running Wayland and how to switch.
To use it:
- Download it
- Make it executable
- Launch it like a standard executable
Allow Access to Serial Ports
All hobbyist steno keyboards use serial protocols to communicate with Plover. Users by default do not have privileges to use these protocols. You will have to add your user to a group in order to obtain those privileges.
To find the name of the relevant group, plug in your steno keyboard and open a terminal to run the following command:
stat -c "%G" /dev/ttyACM*
You should see dialout or uucp depending on your distro. If the above command results in a “file not found” error, try replacing ACM with USB and verify that your keyboard is connected with a working cable.
Once you know the correct group, add your user to it by running the following command:
sudo usermod -aG <group> $USER
Replace <group> with the output of the previous command.
Once you have added yourself to the right group, restart your computer.
Error relating to xcb
You may run into the following error when trying to run Plover:
Could not load the Qt platform plugin “xcb” in “” even though it was found. This application failed to start because noQt platform plugin could be initialized. Reinstalling the application may fix this problem.
Ensure that the following packages are installed:
libxcbxcb-utilqt5-qtstylepluginslibxcb-cursor0
Note that the names of these packages may differ depending on the distro you are using. If the error still persists, run the following:
./plover-4.0.0rc2-x86_64.AppImage -s plover_plugins install -v 'PyQt5==5.14.2' 'PyQt5-sip==12.7.2'
Setting up my machine
Initially, Plover is set up to use your computer keyboard as a steno machine. If you have a steno machine, you’ll need to configure Plover to look for your machine. Please check the Supported Hardware page to find instructions specific to your machine.
Other installation methods
Other releases
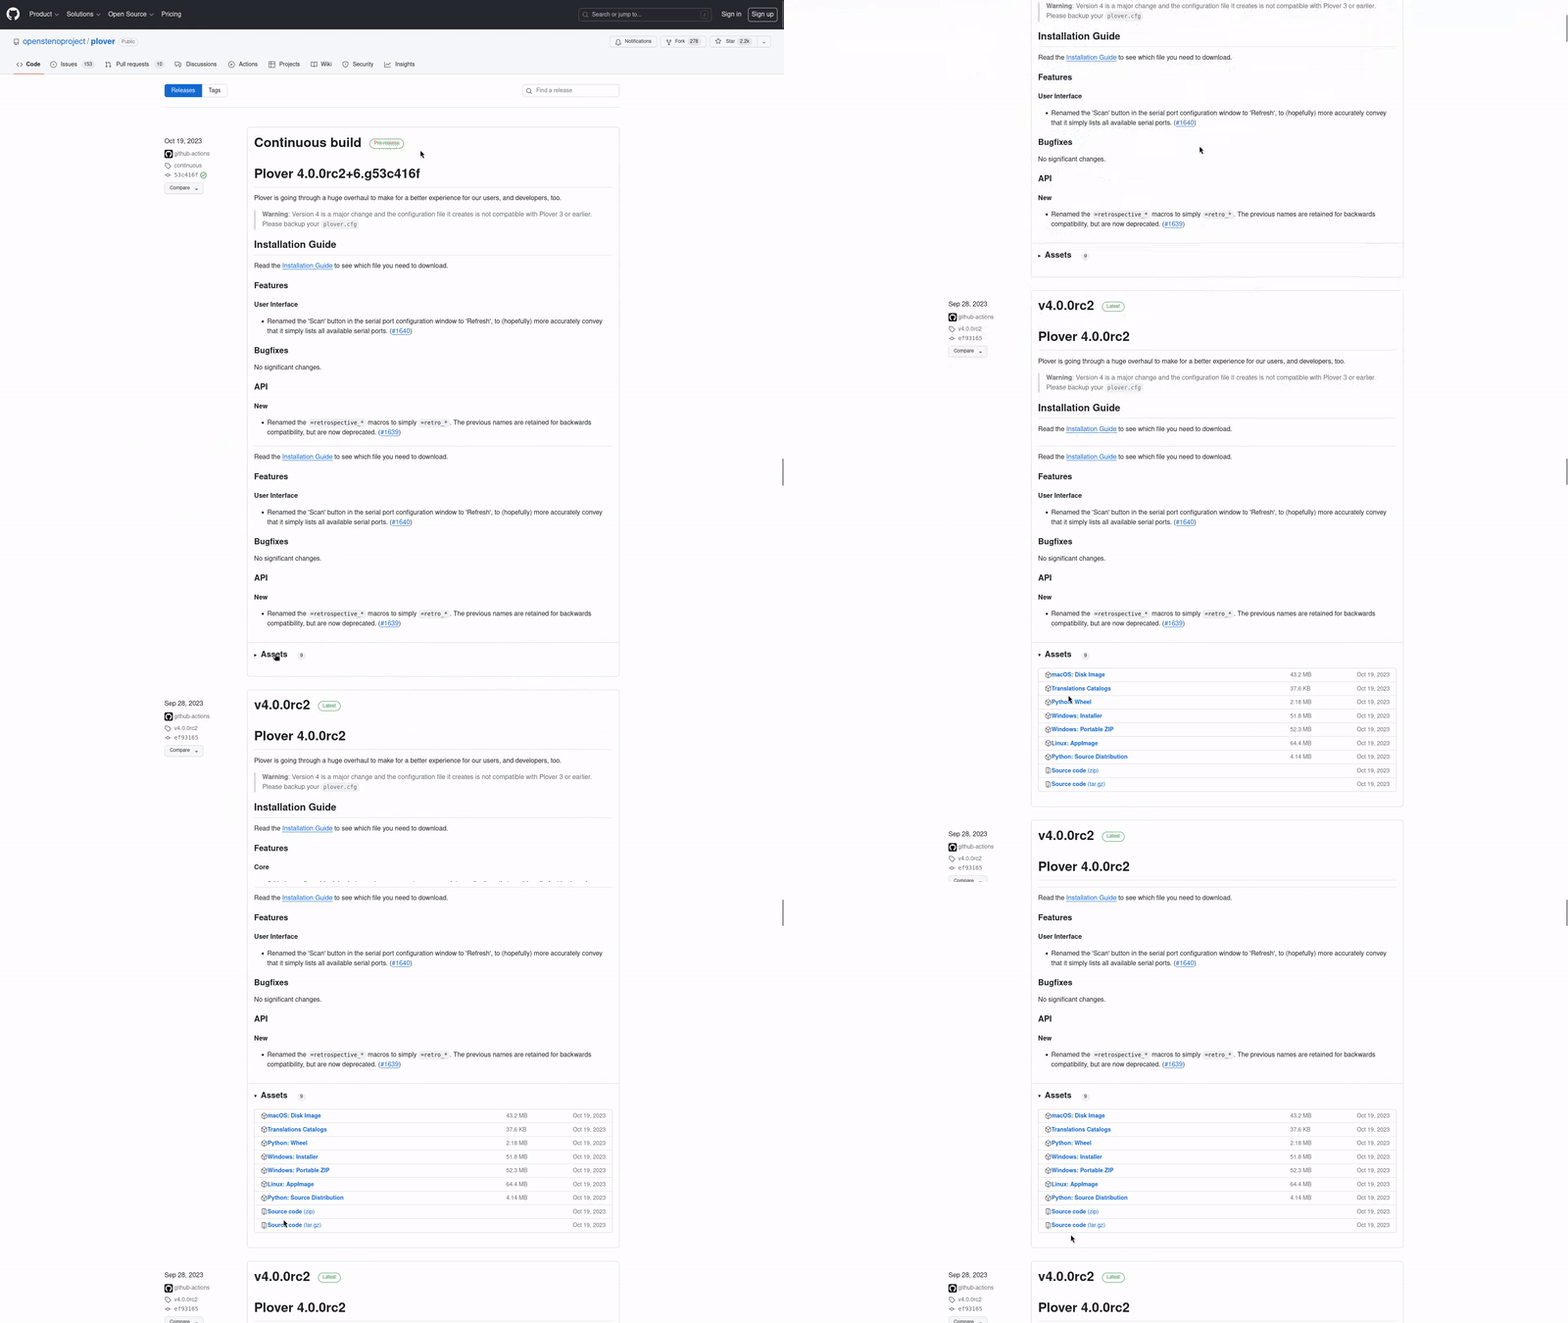
You can browse various other releases of Plover by scrolling through the releases page. To download a release, click on “Assets” and download the applicable file for your operating system.

Homebrew Cask
If you have Homebrew Cask installed on your system, you can run brew install --cask plover at the command-line.
Arch AUR package
Two AUR packages are provided:
- plover for the latest stable release
- and plover-git for the current
master
Note: the plugins manager is not part of plover-git, and is available as a separate package.
Gentoo git ebuild
Currently, only a git ebuild for the master branch is provided.
Personal overlay. (out of date dependencies)
Void Linux package
Plover is packaged in the Void Linux repositories under the package name plover.
Note: the plugins manager has not been packaged yet.
Troubleshooting
If you get stuck, you can:
- Check the troubleshooting guide.
- Search for your problem in our issue tracker and our Discussions forum.
- If you can’t find your particular problem, open a support request or start a Discussion.
We also have a Plover Discord Server, the steno community, and a GitHub Discussions forum if you have a general idea or discussion topic.
For developers: running from source
If you want to build from source (e.g. if you are a developer), follow the guide for your operating system:
